
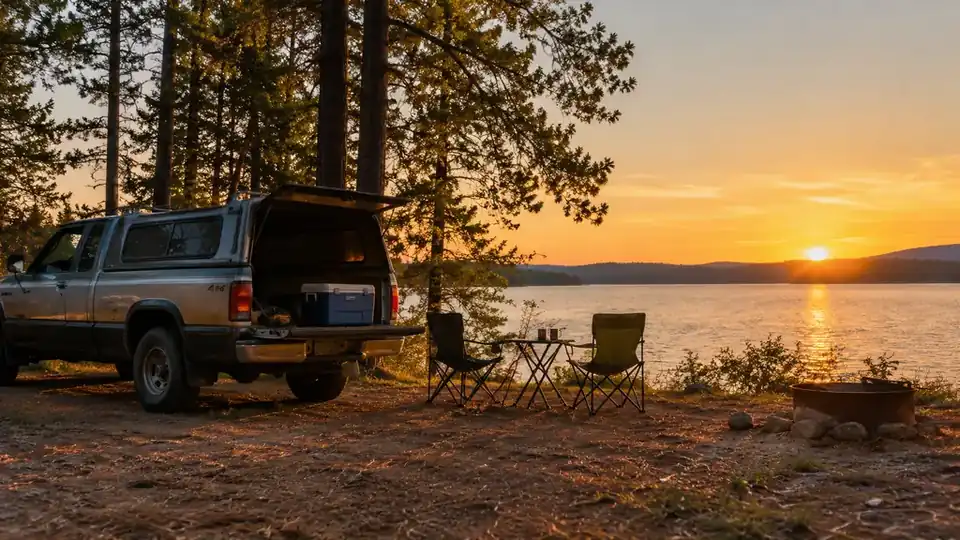
I spent 35 years working around air conditioning and refrigeration, so I have a habit of thinking about where heat gets in and where cold gets out. That habit follows me to the campground. If you have ever hauled a cooler to a state park and opened it Sunday morning to find the cheese floating in lukewarm water, you know the problem is usually not the cooler. It is how the cooler got packed. Marla and I camp out of a 2014 Toyota Tacoma with a bed cap, mostly at Clinton Lake and Perry Lake in Kansas and down around Lake of the Ozarks in Missouri, and for the last two seasons the box we load this way is the YETI Tundra 45.
We run a weekend trip the same way every time. Leave work Friday, drive two hours, set up camp in the dark, and eat three days of meals out of one 45-quart box. That box has to keep raw chicken safe for Saturday night and still hand out a cold drink Sunday afternoon. I learned the hard way that how you load it matters as much as what you spend on it. This is the packing order that has worked for us, trip after trip, through Kansas heat and Missouri humidity.
The cooler we load this way every trip
The YETI Tundra 45 has ridden in our truck bed for two seasons. It holds ice through a Kansas weekend, and the lid serves as a spare seat while we rig the tent. Check today's price on Amazon.
Amazon Check Today's Price on Amazon →Here is the order that works for us, from the garage to the campsite. It assumes a Friday-to-Sunday trip with two people, one 45-quart cooler, and a shared commitment to keeping the lid shut. If that sounds like your weekend, these five steps have carried ours, and they will carry yours.
Step 1: Start cold. Chill the cooler and the food before it goes in.
The first mistake people make is packing a warm cooler with warm food. A cooler is insulation, not a refrigerator. It does not make things cold. It only slows down the warming. If you drop a can of soda at 80 degrees into a cooler that has been sitting in a garage all afternoon, with a couple of bags of supermarket ice thrown on top, you are asking that ice to do all the cooling work. It will lose that fight by Sunday, and your food will be the casualty. I have watched it happen, and it never ends well.
The night before we leave, I set the Tundra on the garage floor with two jugs of water inside and the lid shut. The food goes into the refrigerator, not onto the counter. Cold things starting cold is the whole game. When everything goes in at fridge temperature, the ice does not have to cool it. The ice only has to hold the cold that is already there. On weekends when I skip this step, I can feel the difference by Saturday noon, and so can the cheese.
This matters more in a rotomolded cooler than in a cheap one, because the thick walls hold what you give them. Feed a YETI warm food and it will hold that warmth almost as faithfully as it holds cold. Start it cold and you have banked a full day of ice life before you ever leave the driveway. That is the difference between iced tea on Sunday and a lukewarm water bottle.
Step 2: Build a base of ice that lasts. Frozen jugs, not loose cubes.
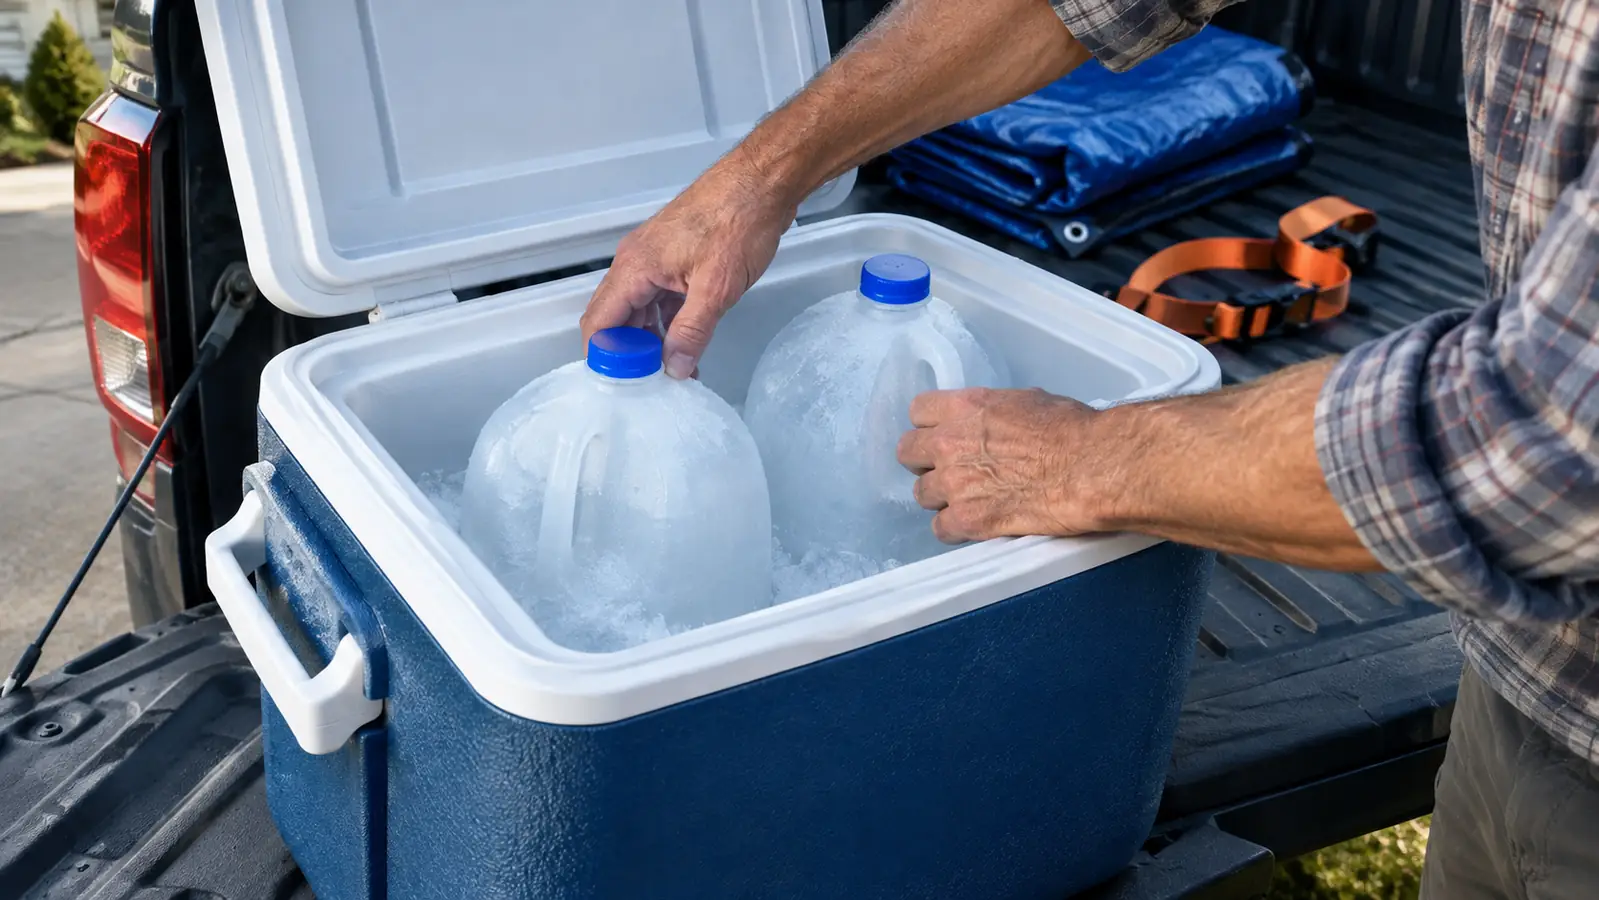
Bag ice melts fast and floods the bottom of the cooler, and that meltwater climbs right up around your food. What I do instead is simple. I fill two one-gallon jugs with water, freeze them solid for two days, and lay them in the bottom of the Tundra. A frozen gallon of water weighs about eight pounds and melts over roughly two days instead of one afternoon. That is the difference between a cold Sunday and a trip to the camp store for more ice. I have made that trip, and I would rather not make it again.
The jugs do two jobs. They keep the slush out of the drain hole, which crushed ice never does, and at the end of the trip I still have two gallons of clean drinking water. You pay for the jugs once and you get cold storage all weekend plus a full cooler of cold water to wash down the dust on the drive home. On the Sunday drive back to Olathe, that cold water has saved us more than once.
I still put a small bag of cubes on top, in the drink corner, for the cans people actually reach for. But the working ice, the ice that has a job, is the frozen jugs on the bottom. That one habit adds a full day to our ice and costs nothing except remembering to fill the jugs on Wednesday. It is the cheapest upgrade in this whole article.
Step 3: Pack in reverse order of use, raw meat lowest and sealed.
The rule I use is simple: whatever you need first goes in last. Friday night is hot dogs and the fixings, so those sit on top. Saturday breakfast, eggs and bacon, goes in the middle. Sunday lunch stays on the bottom near the jugs, where it stays coldest the longest. If you pack the cooler in the order you bought groceries, you will dig through Sunday's food to find Friday's dinner, and every minute the lid is open costs you cold air. Once you respect the order, the lid opens and closes maybe a dozen times a day instead of a hundred.
Raw meat goes into a sealed container or a heavy zipper bag and rides as low as it will go, below anything that gets eaten without cooking. I started doing that after a trip to Perry Lake when a pork loin leaked onto the egg carton. Nobody got sick, but I threw out the eggs to be safe and we ate breakfast twice that day. Now the rule is fixed: raw on the bottom, ready-to-eat above it, and nothing that touches raw meat ever touches anything else. A roll of freezer tape and a marker end the guessing.
The Tundra 45 is the right size for the two of us. It is not a home refrigerator and it is not a canoe. It swallows a long weekend of food for two without making me drag a second box around, and it fits sideways in the Tacoma bed under the cap, out of the sun. The bed cap keeps the sun off it on the drive, and the cooler keeps the cold in the food.
Step 4: Give drinks their own corner and take the abuse off the main lid.
Every time the lid opens, cold air spills out and warm air rushes in. The thick walls slow that down, but they do not stop it, and the real killer is the number of times a day you open the box to grab a soda. I learned to treat drinks as a separate problem. Marla has a soda with lunch and I want a beer with dinner, but neither of us needs to be in and out of the food cooler ten times a day. Keeping drinks easy to reach is half the battle.
So drinks go in one corner, up on top, in a cloth bag I can grab by the handle. A hand reaches in, finds a can, and closes the lid in three seconds. The food stays covered and the cold air stays inside. If you are feeding more than two people, the answer is a separate cheap cooler for drinks, set in the shade, and nobody touches the food box until it is time to cook. That three-second rule has kept our food safe on the hottest August weekends at the Lake of the Ozarks.
The same thinking applies to where the cooler sits. Park it in the shade of the truck or the tarp, not in the sun. I spent enough summers on rooftop units to know that direct sun on an insulated box adds heat I would rather not fight. Ten degrees of shade is ten degrees the ice does not have to work against.
Step 5: Manage the melt, and dry the box before it goes home.
Meltwater in the bottom of a cooler is not wasted ice. It is evidence that the ice already did its job. Standing water is the enemy of everything in the box. The problem is when the water gets deep enough to reach the bottom layer of food. I open the drain handle twice a day, once after breakfast and once at night, and run the water into an old cup. Two minutes of draining keeps the food dry all weekend.
One warning from experience: do not drain the coldest water in the box at the hottest moment of the day. The water that runs out is holding cold with it. I drain the Tundra right after breakfast, while the morning air is still cool and before the sun climbs over the trees. Skipping one drain on a cool night costs you nothing. Missing two on a hot weekend costs you the bottom layer of food.
At the end of the weekend, empty the cooler, dry it with a towel, and leave the lid cracked open in the garage. A sealed damp cooler grows mold in a week even when it looked clean on Sunday afternoon. That one cost me a scrub brush and a lecture from Marla about mildew, so consider it free advice. A cracked lid costs nothing and saves you from a scrub brush.
What Else Helps
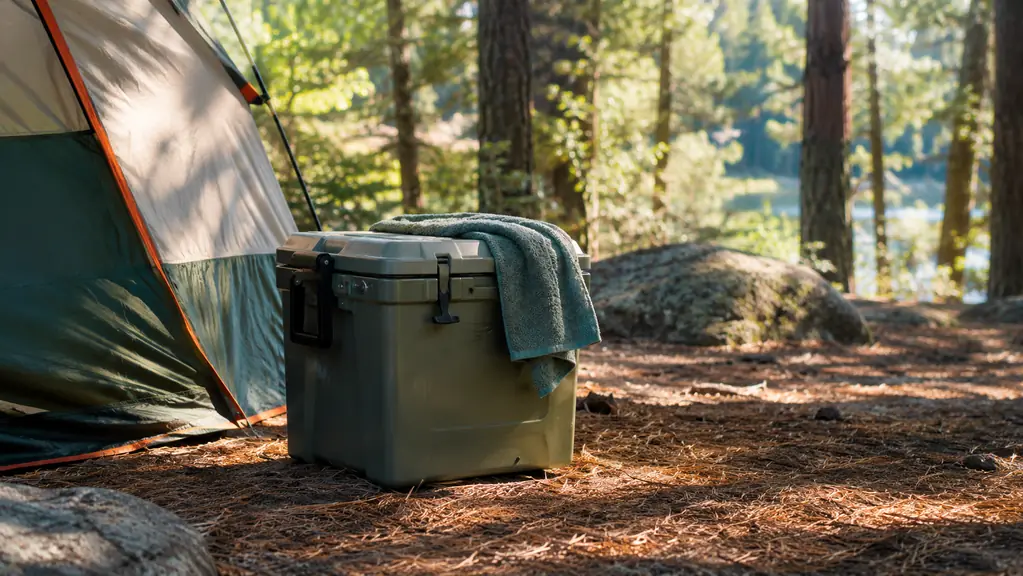
Three small things make the whole system work better. A cheap instant-read thermometer lets me check the top layer Saturday night, and if it reads below 40 degrees I know we are good through Sunday. I pack the thermometer in the same bag as the eggs so it never gets left on the counter at home. A second cheap cooler for drinks is worth repeating because it saves the food box from a hundred lid-lifts a day. And a damp towel draped over the closed lid adds a layer of cooling on a hot afternoon while it keeps the flies off the handle. None of these protect the cold unless the cooler itself is up to the job, and the YETI has been.
A frozen gallon of water weighs about eight pounds and melts over about two days. That is the difference between a cold Sunday and a trip to the camp store for more ice.
The Bottom Line
If I were buying a weekend cooler again tomorrow, I would not change the box. The YETI Tundra 45 has held ice through Kansas summers, Missouri humidity, and a Colorado week with the bed cap on and the sun on the cab. But the cooler never did any of that alone. It worked because we started cold, froze the jugs, packed in order, kept the lid shut, and drained it on schedule. Pack a lesser cooler the same way and you will get a better weekend than you are getting now. Pack this one that way and you will not think about your food until it is time to eat it, which is exactly what camping food should be.
Start with the box, then pack it this way
The YETI Tundra 45 has ridden with us for two seasons and held up to every weekend we have thrown at it. If you are tired of warm food on Sunday, this is the cooler to start with. Check today's price on Amazon.
Amazon Check Today's Price on Amazon →