
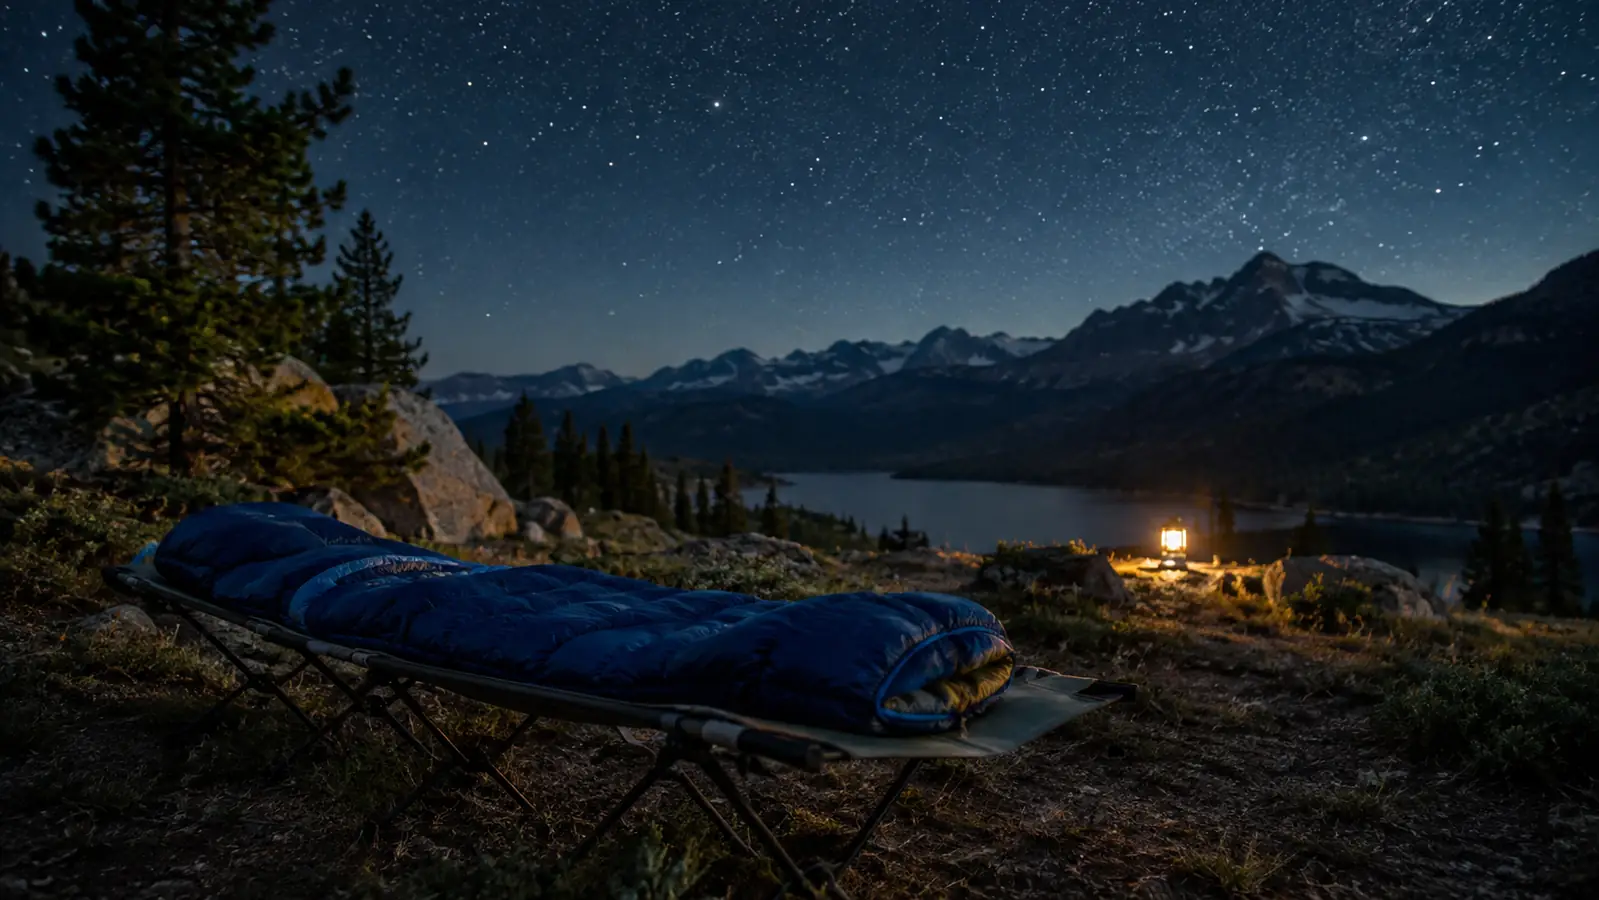
The coldest night I ever spent in a tent was at Clinton Lake in late October. The forecast said 48 degrees. It hit 34. I had a good sleeping bag, a cheap foam pad, and a cotton hoodie, and I shivered until about 3 a.m. before I finally got up and put on every layer I had brought. My wife Marla slept cold that night too, and she is the reason I started paying attention to this stuff at all. She feels the cold in a way I never did, and if she is not warm, neither of us sleeps.
Over the years I have learned that staying warm in a sleeping bag is not about buying the warmest bag you can find. It is about the ground, the layers, the fit, and a few small habits that cost almost nothing. I have tested this routine on cold nights at Perry Lake, at Lake of the Ozarks, and up in the Colorado mountains, and it works. Here is the exact way I do it, step by step, using the Coleman Heritage Big & Tall 10 degree F flannel sleeping bag as the bag I reach for most often.
Start with a bag that actually fits you
The Coleman Heritage Big & Tall is the bag I use for most cold campground nights. It fits up to 6 foot 7, it is flannel lined, and it is rated to 10 degrees F. Check today's price on Amazon before you build your cold-weather kit.
Amazon Check Today's Price on Amazon →Step 1: Get off the cold ground
The ground will steal more heat from you than the air ever will. A sleeping bag insulates the top of you, but the bottom of you is pressed against the ground, and the insulation underneath you gets compressed flat. That is why a bag rated to 10 degrees can still feel cold at 40 degrees if you are lying directly on the tent floor.
I use a closed-cell foam pad under my sleeping bag, and Marla uses a self-inflating pad that is about two inches thick. The foam pad is cheap, weighs almost nothing, and never leaks. The thicker pad is more comfortable for her hips and shoulders. If you are car camping out of a truck like I am, you can carry a thicker pad without worrying about weight. The rule is simple: the pad should be at least as long as you are, and it should be under your whole torso, not just your hips. I check the R-value on every pad I use. My foam pad is R-2.0, enough for summer and shoulder season. Marla's self-inflating pad is R-4.5, and it makes a real difference on her side. One April night at Perry Lake the forecast said 38 and it hit 31. She slept straight through; I woke up once with a cold shoulder and slid a folded blanket under that side.
One more thing I learned the hard way: put the pad inside the tent, not on the bare ground outside. Sounds obvious, but I have seen people set up cots directly on gravel and wonder why they are cold. A cot is fine if you put a pad on top of it, because air moves freely underneath a cot and carries heat away. Pad first, then bag, then you.
Step 2: Wear the right layers to bed
What you wear inside the bag matters as much as the bag itself. I sleep in a lightweight merino base layer, a thin fleece top, and a knit hat. Marla sleeps in a similar base layer plus thick wool socks. The key is to avoid cotton. Cotton holds sweat against your skin, and when you stop moving, that moisture cools you down fast. I learned that lesson on that cold night at Clinton Lake, wearing a cotton hoodie like it was a good idea.
Do not overdress, either. If you put on so many layers that you start sweating inside the bag, you will be wet and cold by midnight. The goal is to be slightly cool when you first get in, so your body warms the bag gradually. If you are already sweating, you are wearing too much. I learned that the hard way one night at Clinton Lake. I put on a heavy fleece jacket over my base layer because I was cold while I was brushing my teeth. By 1 a.m. I was sweating, so I unzipped the bag halfway to cool down, and then I spent the rest of the night trying to warm back up. Now I start slightly cool and add a layer only if I actually need it.
A hat matters more than people think. You lose a lot of heat through your head, and a knit hat tucked around your ears makes a noticeable difference on a 35 degree night. Marla also brings a thin neck gaiter, and on the coldest nights she pulls it up over her chin. Small things, but they add up.
Step 3: Loosen the bag and let it loft
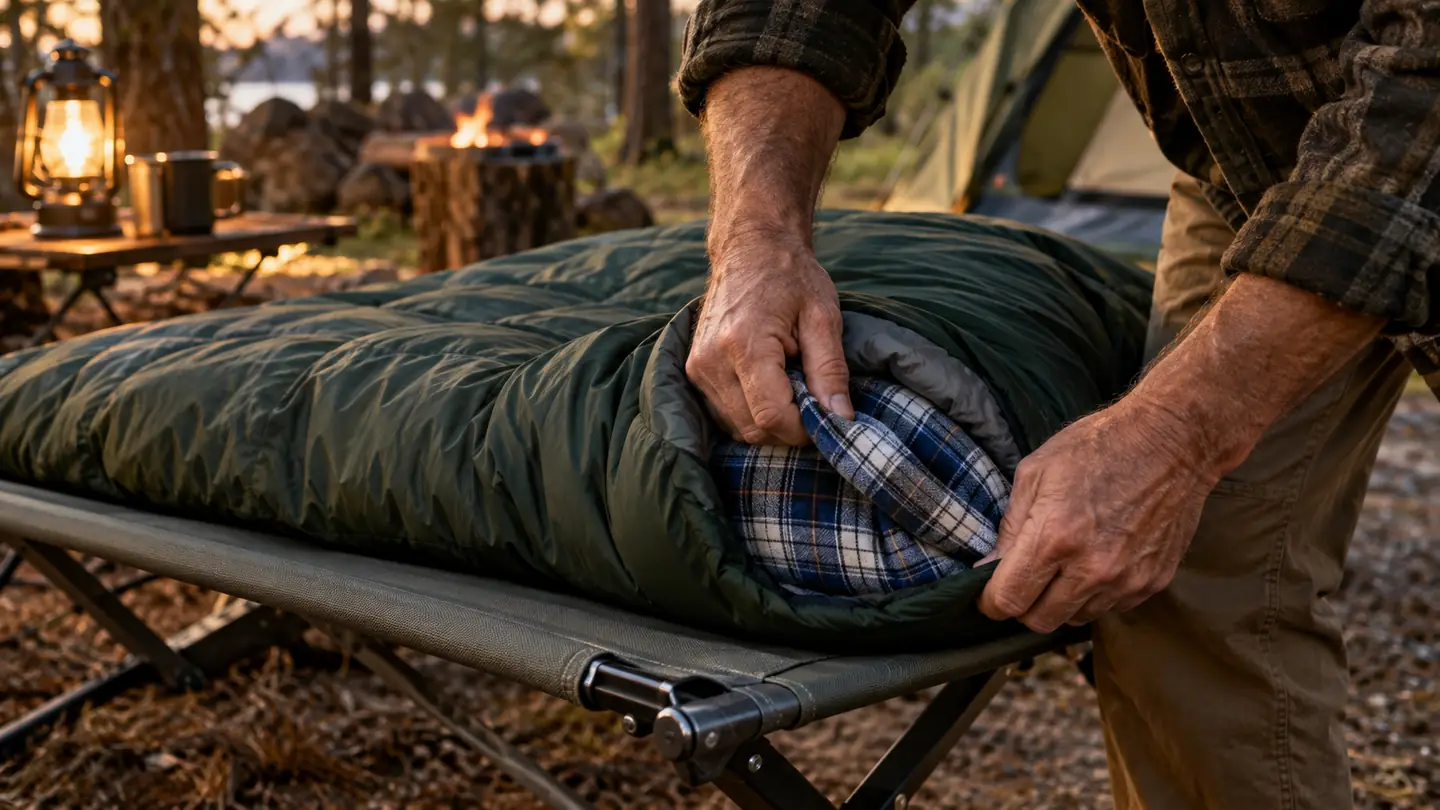
A sleeping bag keeps you warm by trapping air in its insulation. If the bag is stuffed tight in a compression sack, the insulation is flat and does not trap much air. So the first thing I do when I set up camp is take the bag out of its sack and give it time to loft. Ten minutes is enough, but an hour is better. I hang it over the foot of the cot or drape it across the tent while I cook dinner.
The Coleman Heritage Big & Tall has a flannel lining that feels warm the moment you touch it, but the flannel is not what keeps you warm. The insulation is. Letting the bag loft is what gives that insulation room to work. I have seen people unroll a bag and climb straight in, and they wonder why it feels cold for the first hour. It is because the insulation is still compressed.
When you get in, do not zip the bag up tight like a cocoon right away. Get in, pull the draft tube along the zipper into place, and let the bag settle around you for a minute. Then zip up. The draft tube is the insulated flap behind the zipper, and it stops cold air from leaking through the zipper line. On the Coleman Heritage, the zipper is a two-way zipper, so I can unzip the foot a little if my feet get too warm without letting cold air rush in at my chest. One more fit detail: I keep the hood pulled up and the drawstring snug but not tight. A loose hood lets heat escape around my shoulders. On the coldest night I also tuck the edge of the bag under my shoulders, like a tucked-in sheet, so I can't roll into a gap.
Step 4: Use a liner and a hot water bottle
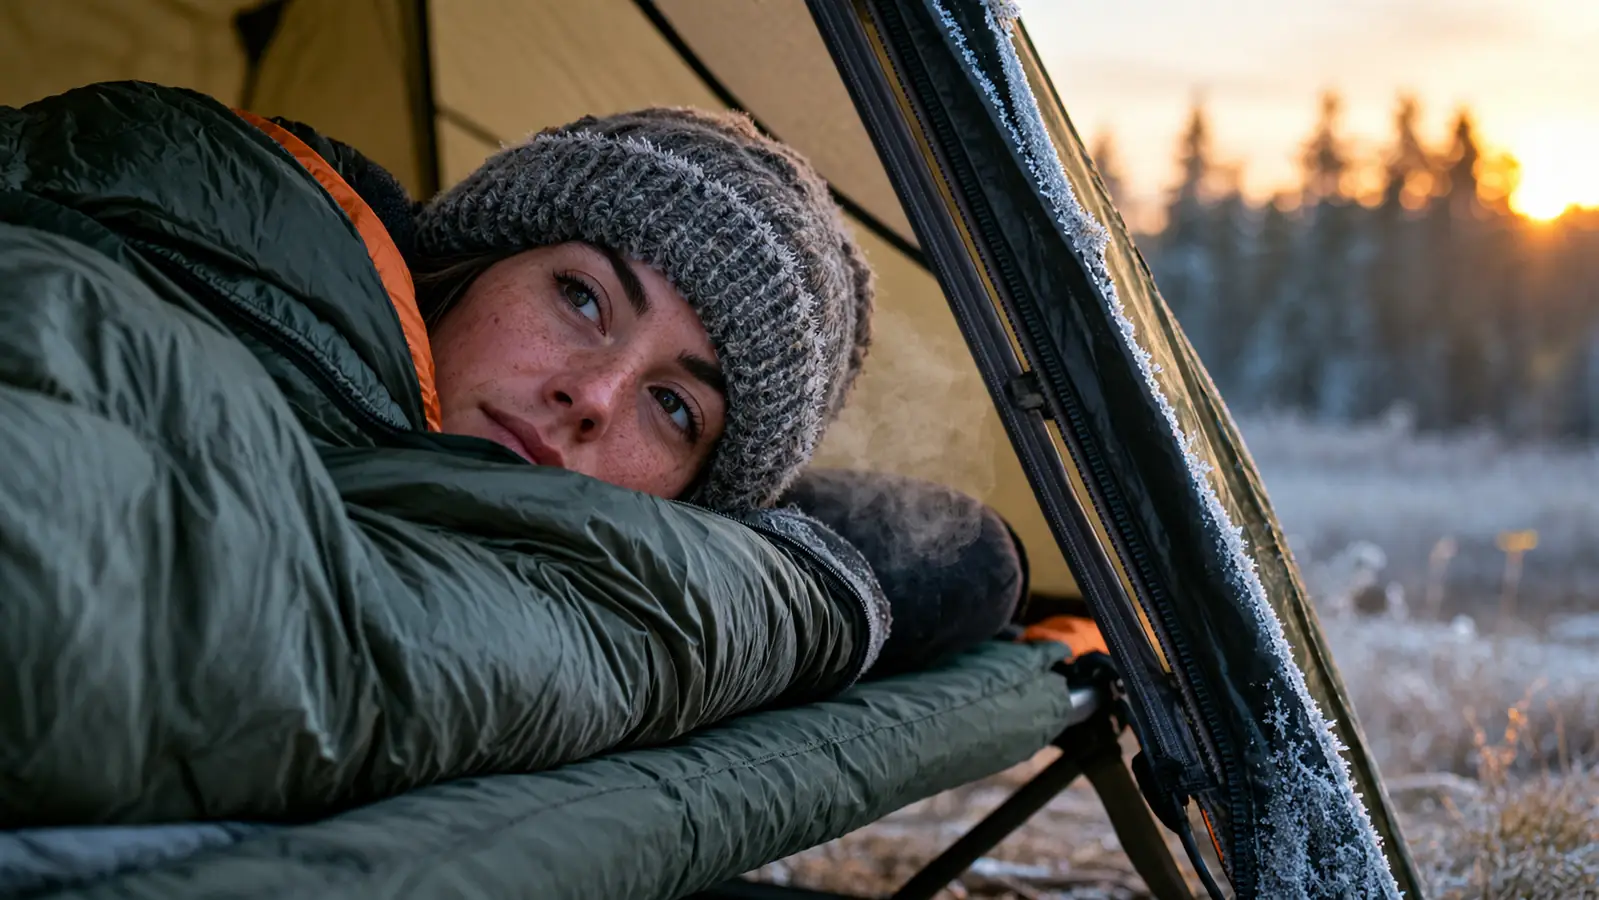
A sleeping bag liner is the cheapest warmth upgrade you can buy. A fleece liner adds warmth, and a silk liner adds less warmth but keeps the inside of the bag cleaner. I use a fleece liner on cold nights and a cotton liner in the summer. The liner also makes the bag easier to wash, because the liner takes most of the dirt and sweat. When I first started camping, I skipped the liner to save money and ended up washing the bag every few trips. Now the liner takes most of the soil, and the bag gets washed maybe twice a season. It also adds a few degrees, which matters when the forecast is close.
The other trick is a hot water bottle. I fill a sturdy bottle with hot water from the camp stove, wrap it in a sock, and put it at the foot of the bag about 15 minutes before I get in. By the time I climb in, the foot of the bag is warm, and my feet stay warm for hours. Marla does the same thing on her side. It costs nothing, and it works better than any chemical hand warmer I have tried.
Do not put the hot water bottle directly against your skin. The sock is not optional. I have seen people burn themselves with a bottle that was too hot, and a burn in the middle of a camping trip is a miserable thing. Warm, not scalding, is the goal.
Step 5: Eat, drink, and go before you sleep
Your body needs fuel to generate heat. A light snack before bed, something with protein and a little fat, gives your body something to burn through the night. A handful of nuts or a piece of cheese works. Avoid alcohol. Alcohol makes you feel warm because it sends blood to your skin, but that blood is leaving your core, and your core temperature drops. I have seen more cold nights ruined by a few beers than by any gear failure. On a trip to Colorado at 9,000 feet, I was too tired to eat a snack one night and paid for it. I woke up at 2 a.m. shivering, even though the bag was the same one I had used all week. The only difference was that I had gone to bed with an empty stomach.
Drink water through the evening, but not a huge amount right before bed. Getting up to pee at 2 a.m. means leaving your warm bag, and that is the fastest way to get cold. I also make a point of using the bathroom right before I get in, even if I do not feel like I need to. Marla and I both do this, and it cuts the number of middle-of-the-night trips way down.
One more habit: do a few light stretches before you get in. Nothing strenuous, just enough to get your blood moving. A warm body warms a bag faster than a cold one. I do a few leg swings and shoulder rolls, then climb in and let the bag do its job.
What Else Helps
A few extras that make cold nights easier. A tent with good ventilation sounds backwards, but it helps. Your breath adds moisture to the air, and if the tent is sealed tight, that moisture condenses on the inside of the tent and on your bag. A little ventilation keeps the air drier, and dry air feels warmer than damp air. I crack the top vent on our tent even on cold nights.
A ground tarp under the tent keeps moisture from seeping up from the ground. I also keep my clothes for the next morning inside the sleeping bag with me, so they are warm when I get dressed. That sounds odd, but on a 30 degree morning, putting on a warm shirt instead of a cold one is a small luxury that makes a big difference.
If you are shopping for a bag, the Coleman Heritage Big & Tall is the one I keep coming back to. It is roomy enough that I can move my feet and shoulders, the flannel lining is comfortable against my skin, and the 10 degree rating gives me a buffer on nights that drop colder than the forecast said. It is machine washable, which matters after a long season of use, and it fits adults up to 6 foot 7, so Marla and I can both use it comfortably. I have used it at Clinton Lake, at Lake of the Ozarks, and on a trip to Colorado, and it has never let me down.
The ground will steal more heat from you than the air ever will. Pad first, then bag, then you.
Build your cold-night kit around a bag you trust
The Coleman Heritage Big & Tall 10 degree F flannel sleeping bag is the bag I reach for on cold campground nights. It fits tall adults, it is machine washable, and it has held up through years of use. Check today's price on Amazon and see if it fits your setup.
Amazon Check Today's Price on Amazon →